
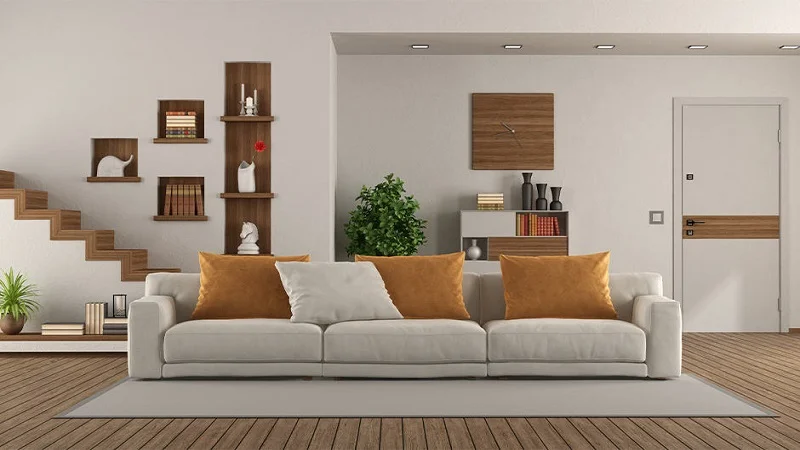
A staircase wall is one of the largest and most visible walls in a house, and it is often left bare. It is also an awkward one to decorate. The wall slopes, the viewing angle changes with every step, and people brush past it carrying laundry and groceries.
Wood wall art suits this wall well. Texture and warmth soften a long, plain stretch, and tall or sculptural pieces fit the proportions of a stairwell. This guide covers where to place art, how to hang it at the right height, and how to keep it safe on a wall people walk beside every day.
Look at the Stairwell Before You Choose a Piece
The right approach depends on the shape of the stairs and on how people actually see the wall.
Straight Staircases
On a straight run, the wall is a long diagonal. A single large piece can work if it sits near the top or bottom, where it is seen head-on, while a series of pieces can follow the slope of the stairs.
Staircases with a Landing
A landing creates a flat, wide wall that is visible from below and from the turn. This is the best spot for one statement piece, because it is easy to hang level and easy to see.
Open or Narrow Stairways
If the stairs are narrow or open on one side, avoid deep, projecting pieces. Choose slim or low-relief art that doesn’t catch sleeves or bags.
Where to Hang One Statement Piece
A single large piece often looks better on a stair wall than a crowd of small ones. The long view from the bottom of the stairs is what makes it work.
Use the Landing or the Top Wall
Hang the piece where it is visible as you climb, such as on the landing wall, or on the wall at the top of the stairs that you see from below. These walls are flat, so the art can hang level in the usual way.
Choose a Shape That Suits the Space
A tall, vertical piece echoes the height of a stairwell, while a round sunburst gives a focal point on a landing. Dimensional, textured pieces catch the changing light as you move. Carved wood wall art is a good fit for a landing, since deep carving throws shadows that shift as you climb.
How to Build a Stair Gallery with Wood Wall Art
A grouped arrangement can follow the angle of the stairs and turn the wall into a feature.
Follow the Slope
Arrange the pieces in a stepped line that rises parallel to the stairs, rather than hanging them level. Keep the spacing between pieces consistent, about 2 to 3 inches, so the group reads as a unit.
Mix Sizes and Materials
Combine one larger wood piece with smaller frames or mirrors, and repeat a color or material across the group. Natural pieces such as driftwood wall art bring organic shapes that break up a row of rectangles.
Plan the Layout on the Floor
Lay the pieces out on the floor, then trace each one on paper and tape the templates to the wall. Walk up and down the stairs to check the arrangement from both directions before drilling.
Height and Spacing Guidelines
Standard gallery rules need small adjustments on stairs.
-
Measure from the stair tread. For each piece, measure the height from the tread directly below it, not from the floor at the bottom.
-
Center around eye level. A common approach is to center each piece about 57 to 60 inches above that tread.
-
Keep the spacing even. Use the same gap between every piece, even as the group climbs.
-
Keep the bottom edge above hip height, where bags, elbows, and laundry baskets brush the wall.
How to Hang Wood Wall Art on a Staircase Wall, Step by Step
Hanging on stairs needs more care than on a flat hallway wall, because you are working at height and the pieces can fall onto the steps.
-
Set up safely. Use a stable ladder or a step stool placed on a flat surface, and have a helper hold it.
-
Mark each position with painter’s tape, checking the heights against the stair treads.
-
Find the studs. A stud finder helps, and studs usually give the strongest hold for heavy pieces.
-
Choose hardware rated above the piece’s weight. A French cleat suits large pieces, and toggle bolts or rated anchors work where a stud is not available.
-
Hang the piece with a helper, and check that it is level with a spirit level.
-
Test the hold by pressing gently on each corner before you leave it.
Lighting a Staircase Wall
Stairs need good light for safety, and art can benefit from it too. Use dedicated stair lighting, such as wall sconces or recessed lights, for safety, and add a picture light or an angled lamp so the texture of a carved or layered piece shows. Do not rely on the art lighting to make the stairs safe.
Common Mistakes to Avoid
A few mistakes make a stair wall look awkward or unsafe:
-
Hanging pieces level along a sloped wall, which makes the arrangement look crooked.
-
Choosing deep, projecting pieces for a narrow stairway.
-
Measuring from the bottom floor instead of from the stair tread.
-
Hanging heavy pieces without studs or rated anchors, which is a risk on stairs.
-
Placing art at hip height, where people carrying loads are most likely to bump it.
Frequently Asked Questions About Decorating a Staircase Wall
How high should art hang on a staircase wall?
A common guideline is to center each piece about 57 to 60 inches above the stair tread beneath it, measured from the tread, not the floor below.
Should art on stairs follow the slope or hang level?
For a group, follow the slope so the arrangement rises with the stairs. A single piece on a landing or flat wall hangs level as usual.
Is wood wall art too heavy for a staircase wall?
Heavy pieces are fine if they are hung into studs or with rated anchors. Because a falling piece lands on the steps, it is worth using more hardware than you think you need.
What size art works best in a stairwell?
Tall, vertical pieces suit the height of the space, and a large round piece suits a landing. Make sure the piece is large enough to read from the bottom of the stairs.
Can I use a mirror in a stair gallery?
Yes. A mirror reflects light into a stairwell and adds variety next to wood pieces, as long as it is hung securely.
Final Thoughts
Decorating a staircase wall with wood wall art comes down to choosing the right spot, measuring from the stair tread, and hanging everything securely. A single statement piece on a landing or a stepped gallery that follows the stairs can turn a plain, overlooked wall into a feature.
Take the time to plan the layout, use strong hardware, and light the wall well, and the result will be a piece that looks good from every step.